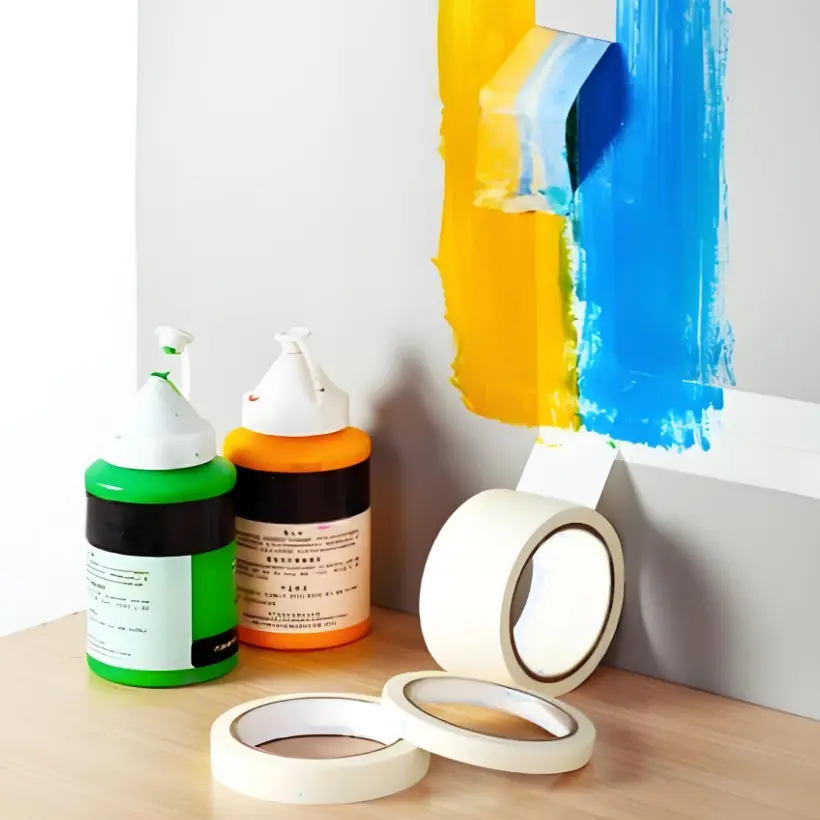
Painting can be a challenging task, especially when precision is required. Masking tape for painting offers a practical solution for creating clean lines, protecting surfaces, and achieving professional results. In this article, we’ll explore the various aspects of using masking tape in painting projects, including the best techniques, when to remove masking tape, and choosing the right tape.
Why Use Masking Tape in Painting?
Masking tape ensures that paint only goes where you want it. Whether you’re a professional painter or a DIY enthusiast, good masking tape allows you to define areas and create clean edges without risking paint bleed.
Types of Masking Tape for Painting
Not all masking tapes are created equal. For instance:
- Blue Masking Tape: Commonly referred to as painter’s tape, this is designed for delicate surfaces and is especially useful on walls. Its adhesive is formulated for easy removal without leaving residue.
- Black Masking Tape: Often used for crafts and artistic purposes, black tape offers a bold look and strong hold.
Techniques for Using Masking Tape in Painting
To get the best results from masking tape, it’s essential to follow a few basic steps:
- Prepare the Surface: Ensure the area is clean and dry. Dust and moisture can prevent proper adhesion.
- Apply the Tape Carefully: Press down on the edges to prevent paint bleed.
- Remove at the Right Time: Knowing when to remove masking tape is key. For most paints, removing the tape while it’s still tacky prevents peeling. If you wait until the paint is fully dry, use a blade to score along the tape edge gently.
Using a Masking Tape Dispenser
A tape dispenser for masking tape is a handy tool that allows for smoother, more controlled application. It’s particularly useful when working with long strips of tape.

Products
Rich variety of adhesive tape

My spouse and I stumbled over here coming from a different web address
and thought I should check things out. I like what I
see so now i am following you. Look forward
to looking at your web page again.
I am extremely inspired with your writing abilities and
also with the format for your blog. Is this a paid subject matter or did you
customize it your self? Anyway keep up the excellent high
quality writing, it is rare to peer a nice blog like this one
today.